Setup IP Whitelist For Your Endpoint
IP whitelisting adds an extra layer of security by ensuring that only requests from approved IP addresses can access your Spectrum endpoint.
What is IP Whitelisting?
IP whitelisting allows you to define specific IP addresses or ranges that are allowed to send requests to your endpoint. Any request originating from an IP not on the list will be blocked.
Step 1: Log in to Your Dashboard
- Visit: dashboard.spectrumnodes.com
- Enter your user credentials if logged out.
Step 2: Open Your Project Settings
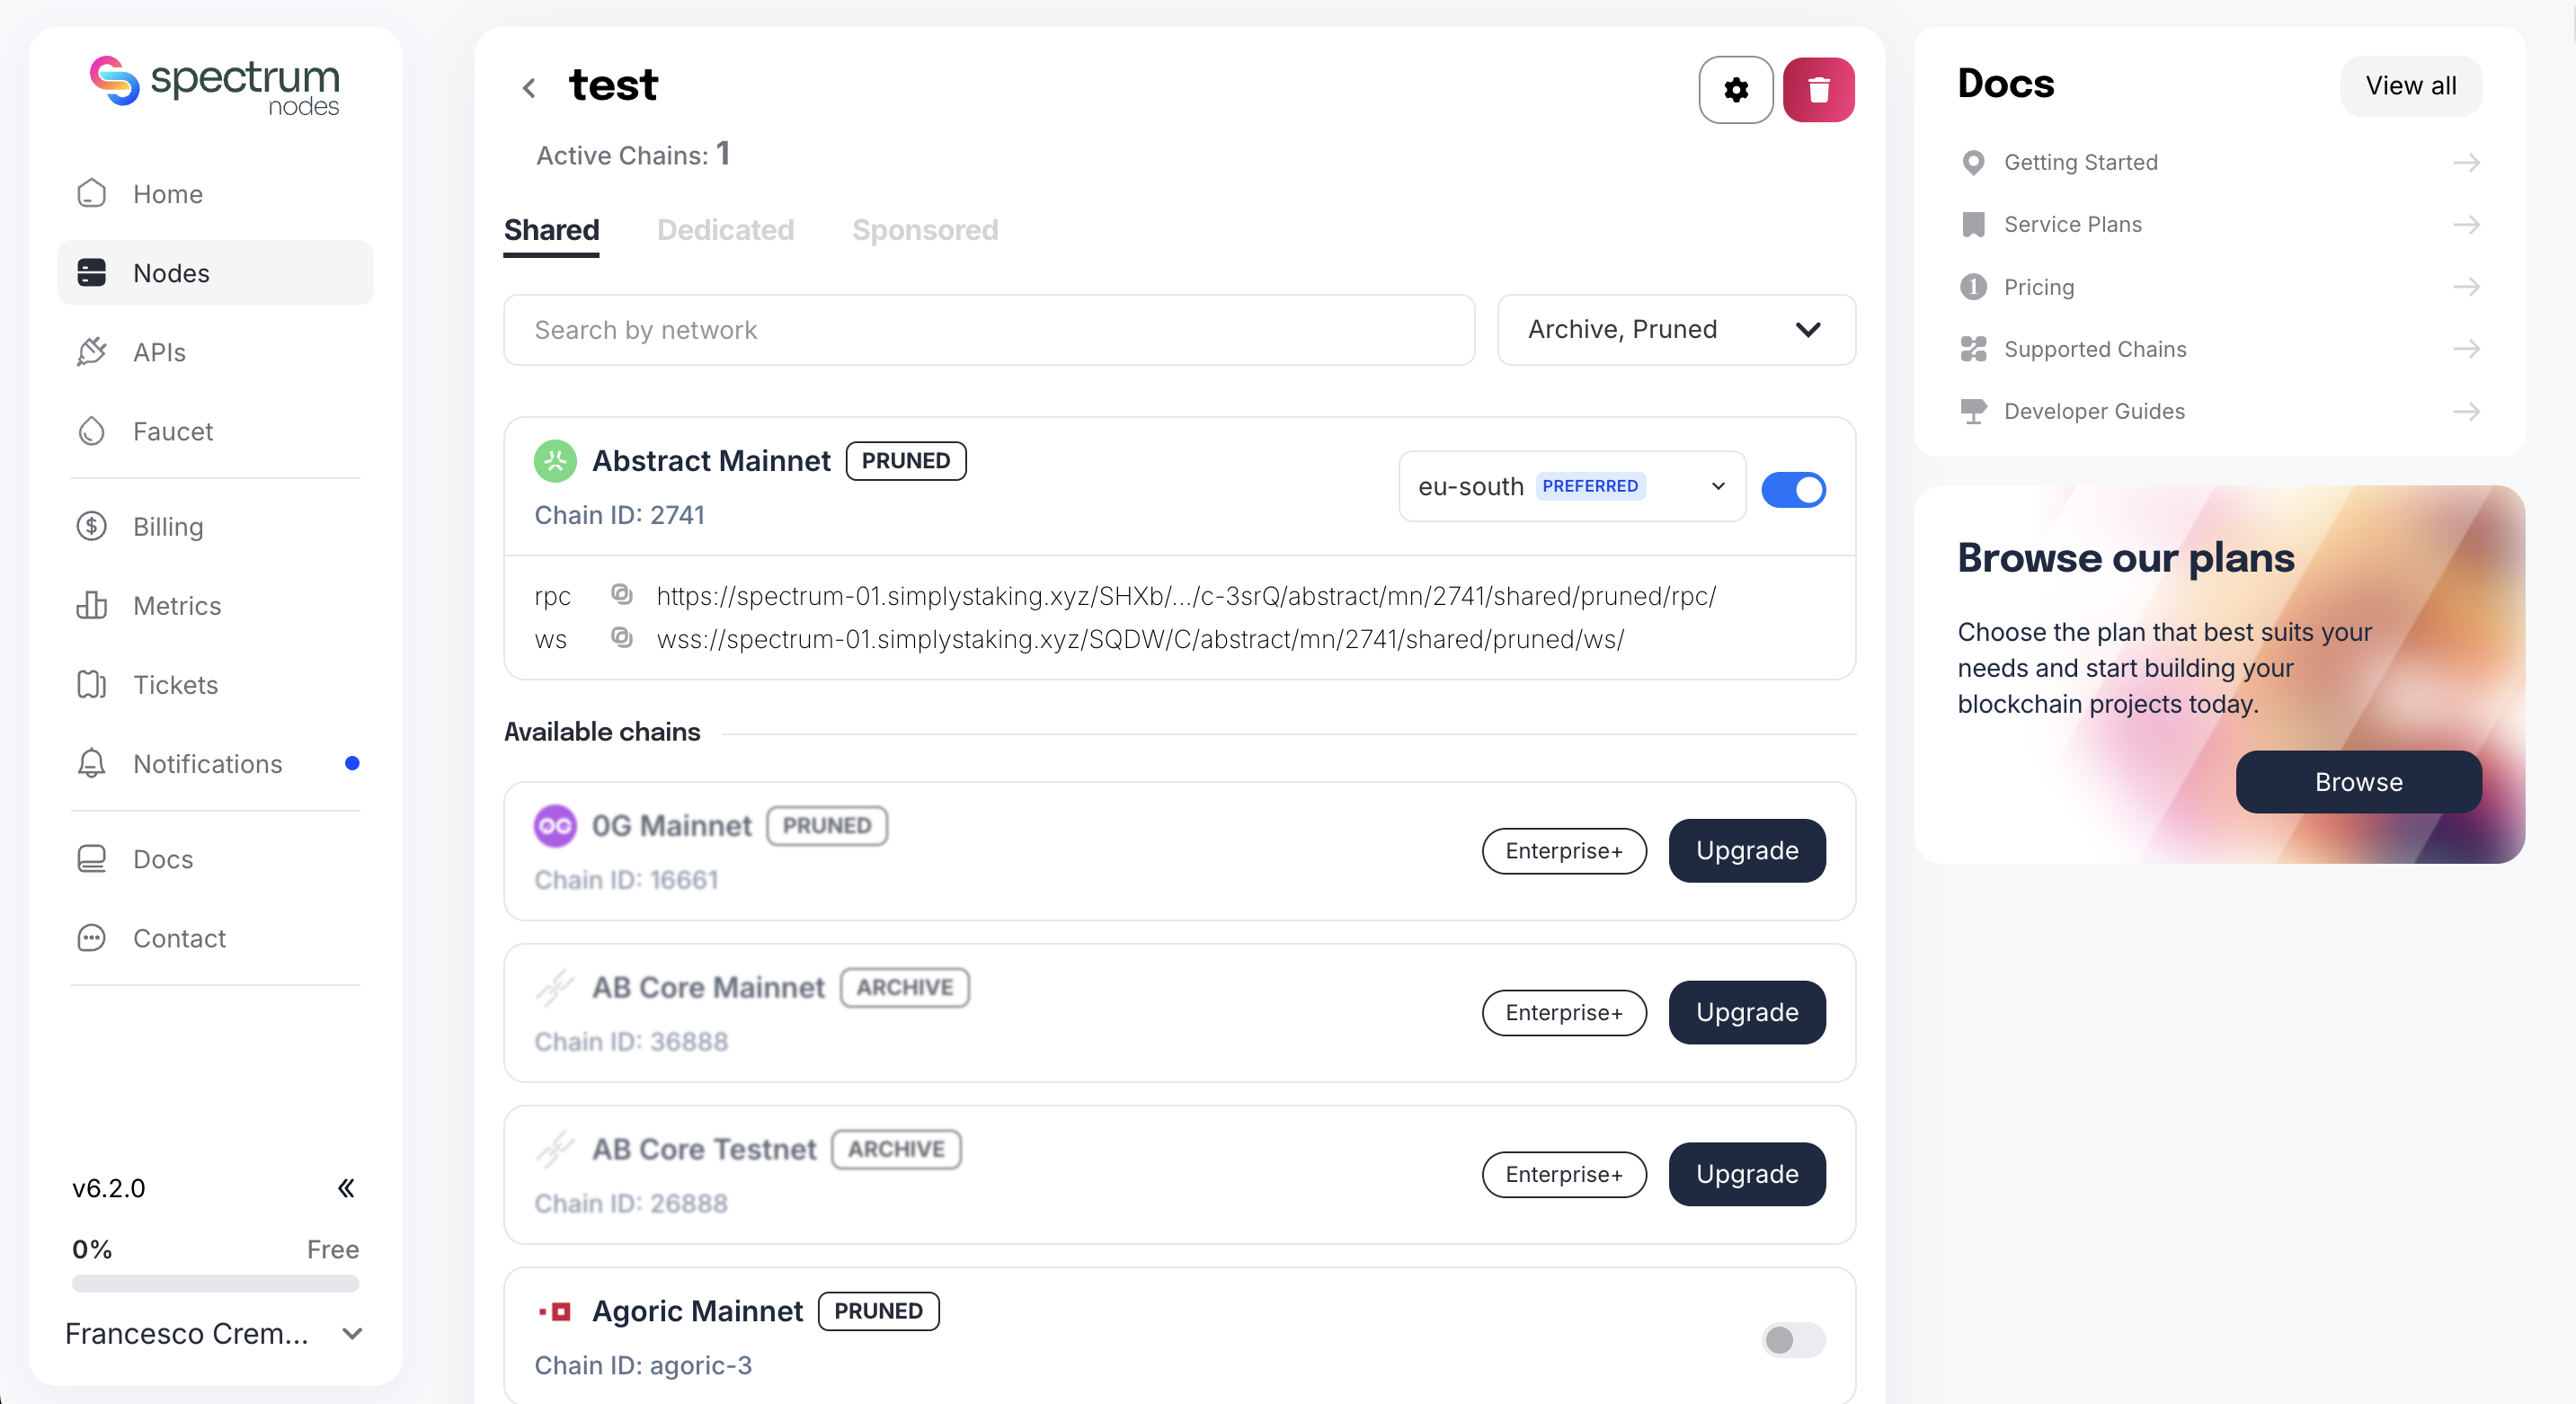
- Identify which project you want to configure in your Nodes dashboard.
- Select it, then click the gear icon in the top-right of the page to open its Settings.
Step 3: Configure IP Whitelist
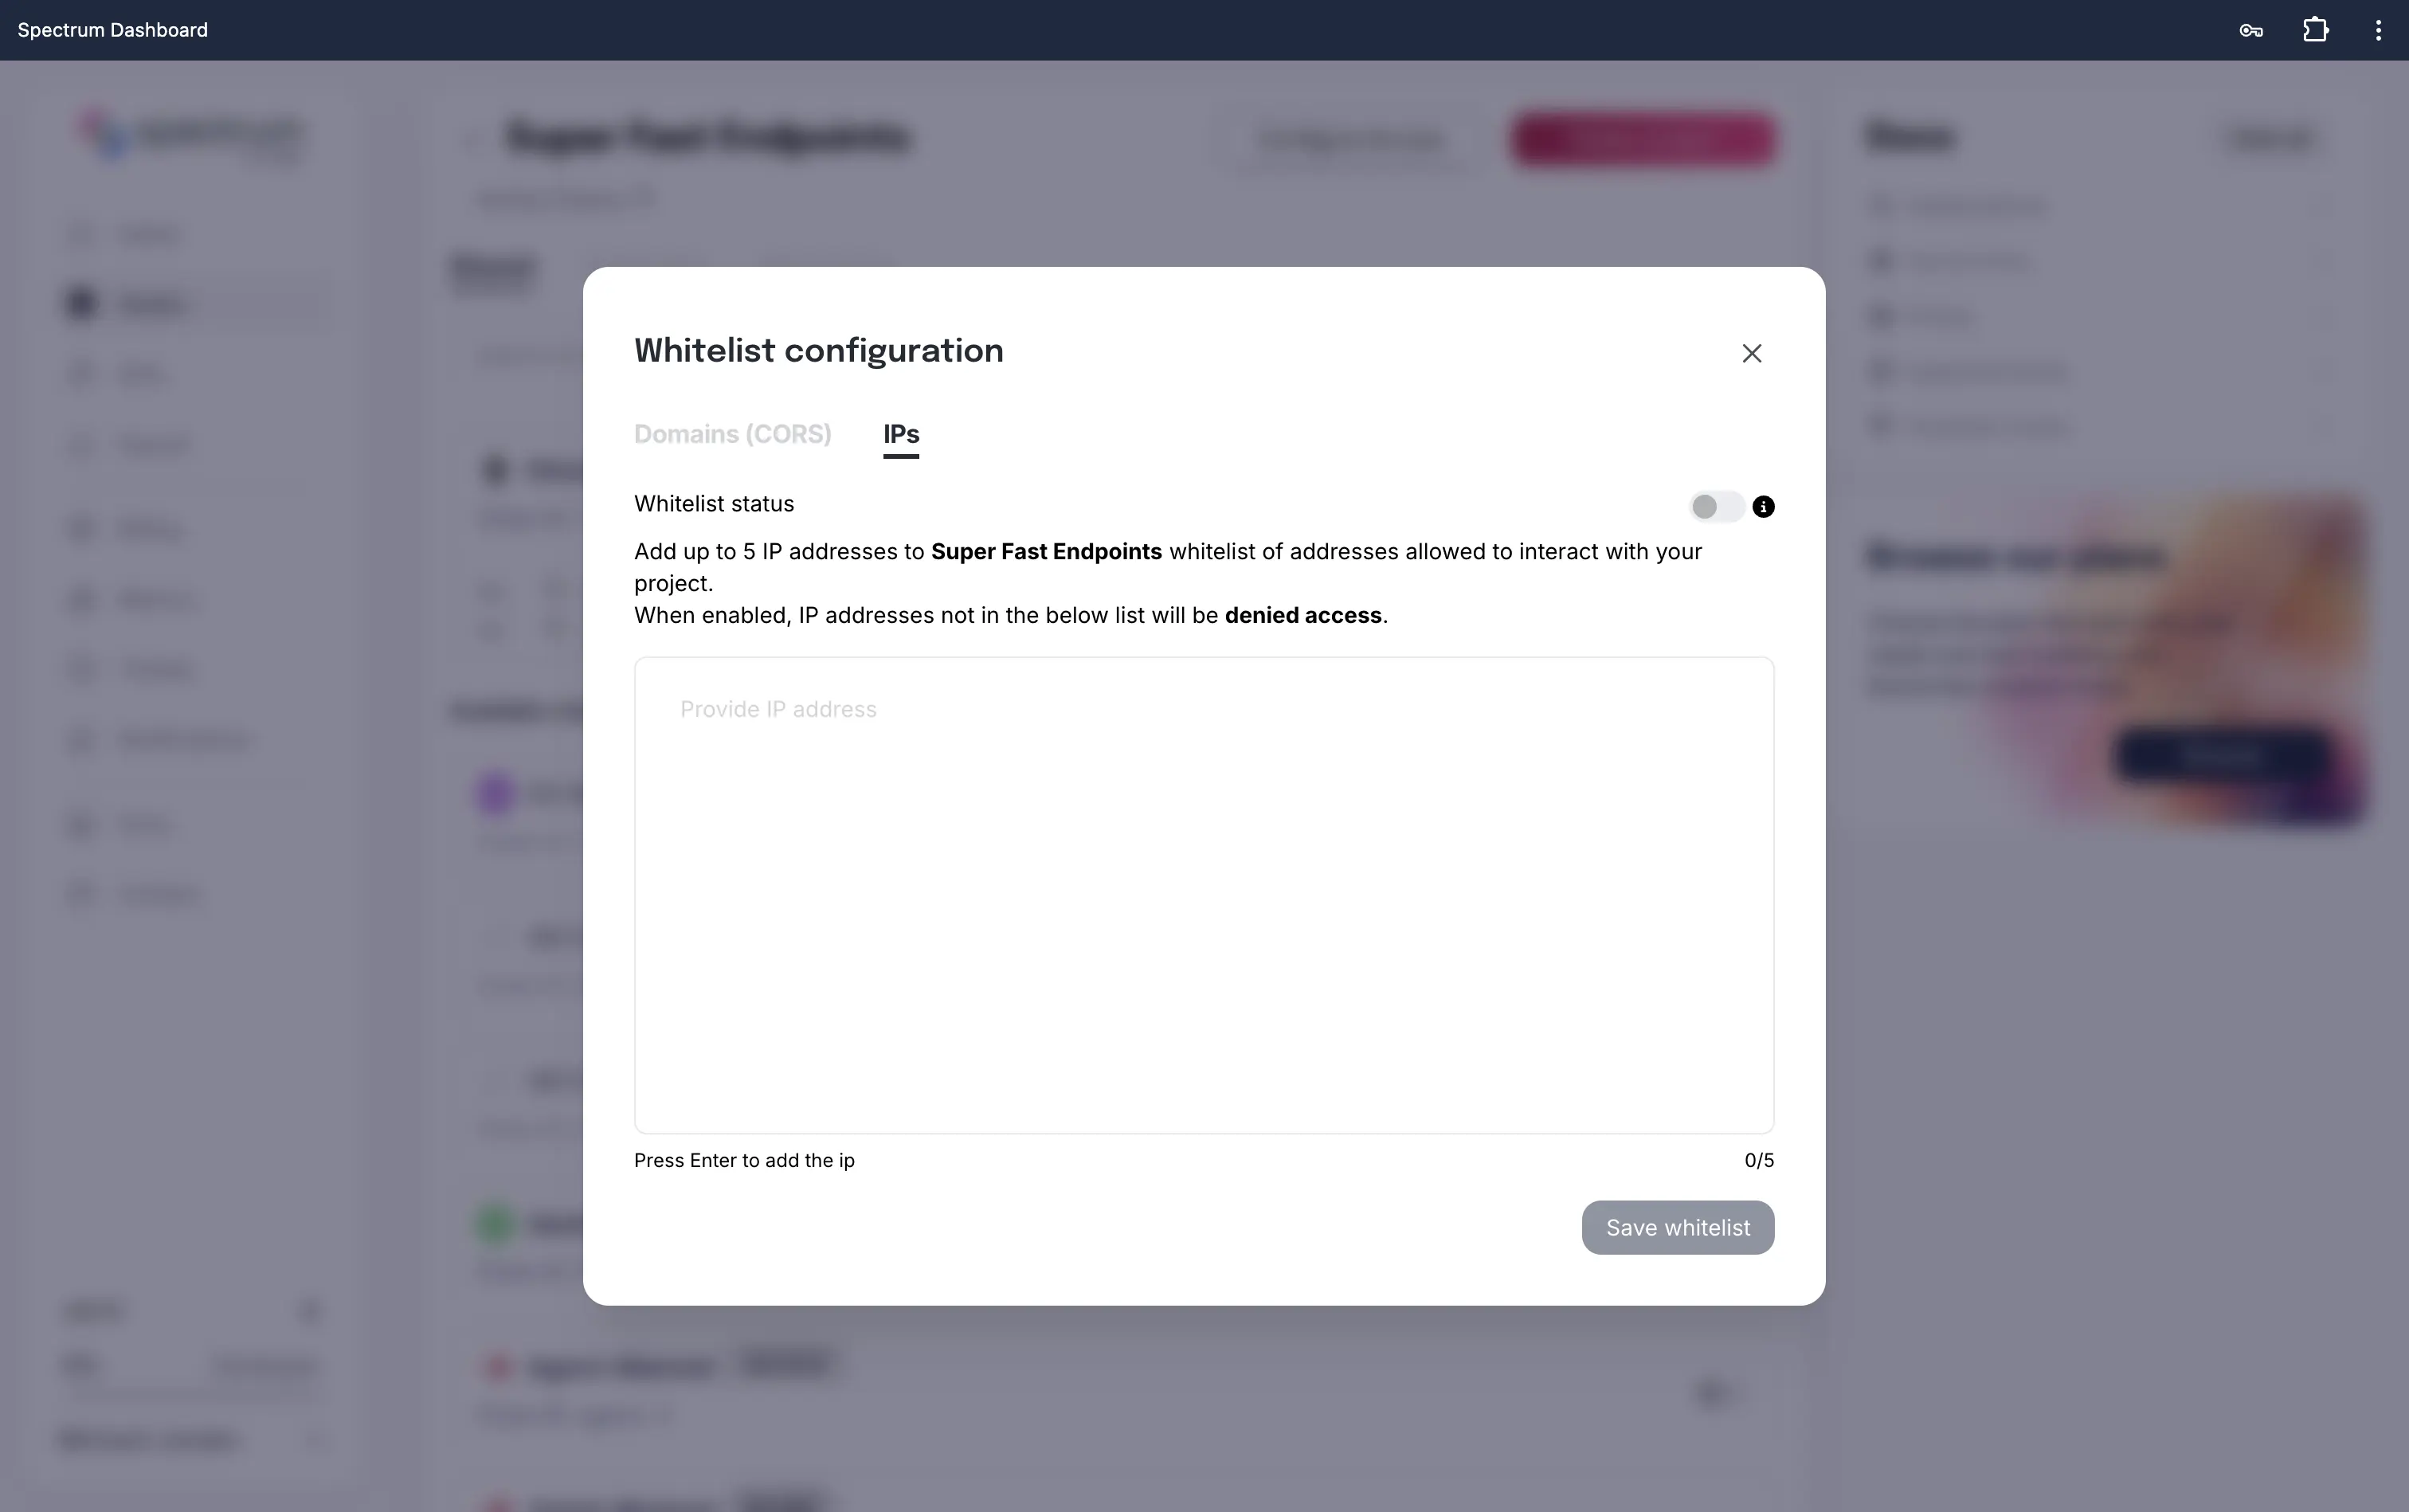
- In the Whitelist configuration, open the IPs tab.
- Type each IP address and press Enter to add it.
- Click Save whitelist to confirm your new IP whitelist.
Important Notes
- Adding an IP whitelist will block all access by default unless explicitly allowed.
- If you’re unsure of your IP or have a dynamic one, avoid locking yourself out.
- For multi-location teams or cloud deployments, consider adding all necessary server IPs.